If you already keep your certificates in a spreadsheet, you can bring them all in at once with a CSV file instead of typing them one by one.
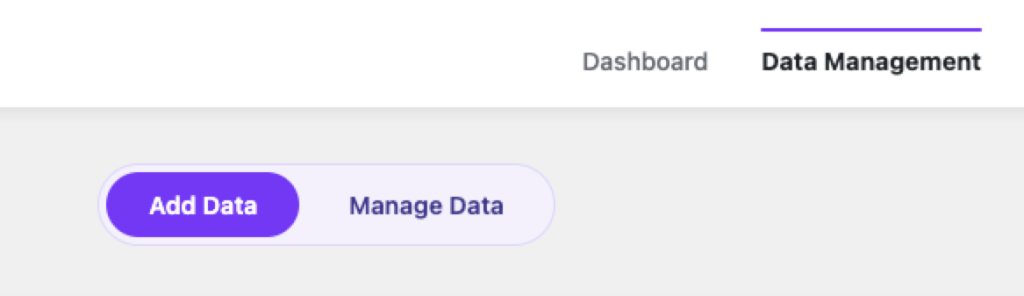
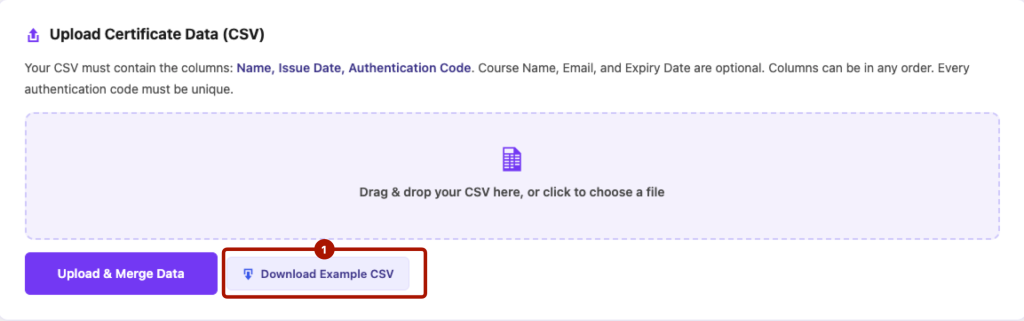
- Go to Certificate Validator → Data Management and open the Add Data tab. Here, you will find a section named “Upload Certificate Data (CSV)“. From there, click the “Download Example CSV” button to download the sample CSV file. This is the easiest way to see exactly which columns are expected.

- Remove the sample data and replace it with your own certificate information. Fill the template with your records ( check here for the column rules).
- Drag your file onto the upload area, or click to browse and select it.
- Click Upload. When it finishes, you’ll see a summary of how many records were added and how many rows were skipped.
Import limits
Each file can be up to 10 MB and contain up to 100,000 rows. This is a limit on a single upload, not on how many certificates you can store in total — you can upload as many files as you like.
Uploading more than once
Every upload is merged into your existing records rather than replacing them. If an authentication code in your new file already exists, that row is skipped and reported, so re-uploading the same file won’t create duplicates. This makes it safe to add new batches over time.
What gets skipped
Rows with a missing or duplicate authentication code, or an invalid date, are skipped and listed in the import summary so you can fix and re-upload them. A file with two columns sharing the same name is rejected entirely, to avoid importing ambiguous data.


