Adding certificates one at a time is the quickest way to get started when you only have a handful, or when you issue a new certificate now and then.
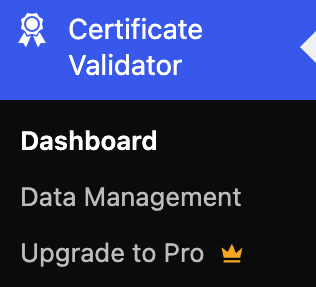
- Go to Certificate Validator → Dashboard.
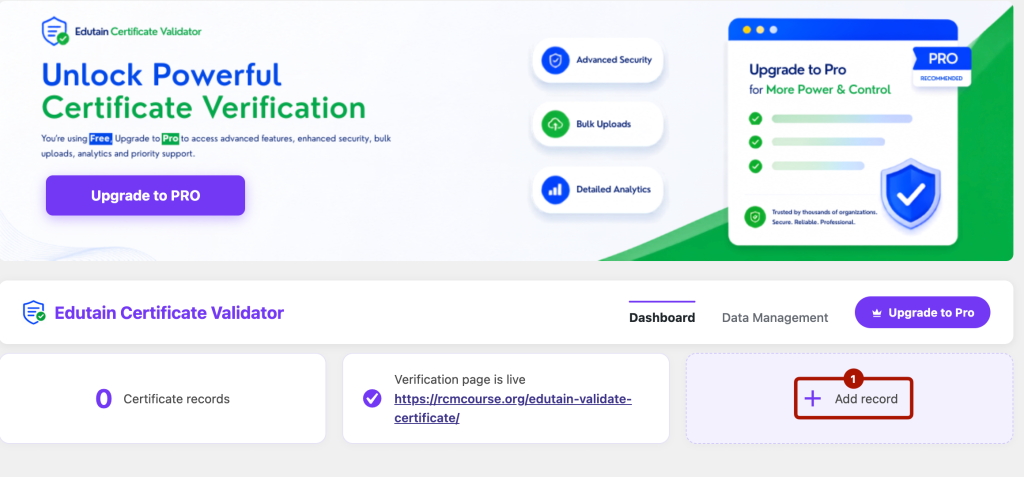
- Click + Add record button from the dashboard.
- Fill in the single-record form:
- Course Name — the course or qualification the certificate is for.
- Student Name — the learner’s full name, as it should appear on the verification result.
- Issue Date — the date the learner finished.
- Authentication Code — a unique code for this certificate (see below).
- Student Email (optional) — store this if you plan to email certificates later with Pro.
- Click Save.
Alternatively, you can also add record from Data Management > Add Data tab.
About the Authentication Code
The authentication code is what a learner or employer types in to verify the certificate, so it must be unique — no two records can share the same code. Use whatever format suits you: a serial number, a mix of letters and numbers, or a code your LMS already generates. Codes are matched exactly, so keep them consistent.
Once saved, the record is live immediately — anyone with that code can verify it on your public page.


