The five core fields cover most certificates, but sometimes you need to store more — a grade, a roll number, a CPD point total. Custom fields let you add up to 30 extra pieces of information per certificate.
This is a pro feature. This feature is not available in the free version. On the free version, you can only add the five core fields: course name,
Adding a custom field to a record #
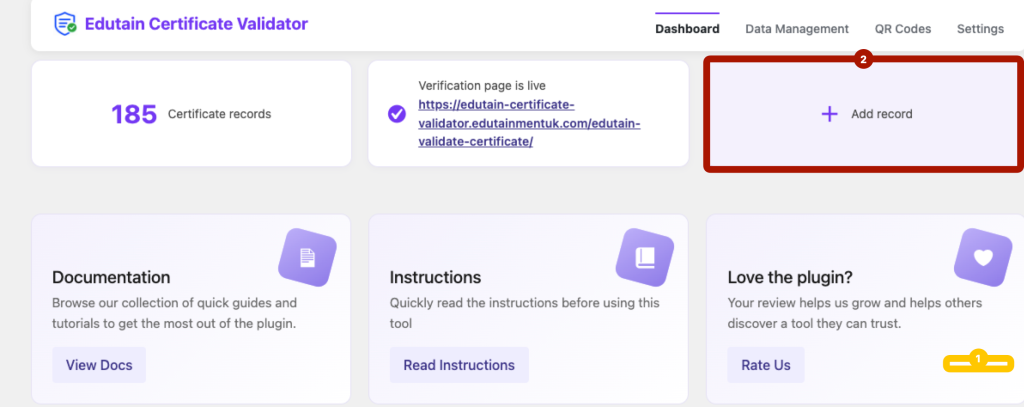
Step 1: Add a New Record
From your dashboard, click on “Add Record” to create a new verification entry.
Step 2: Enter Document Information
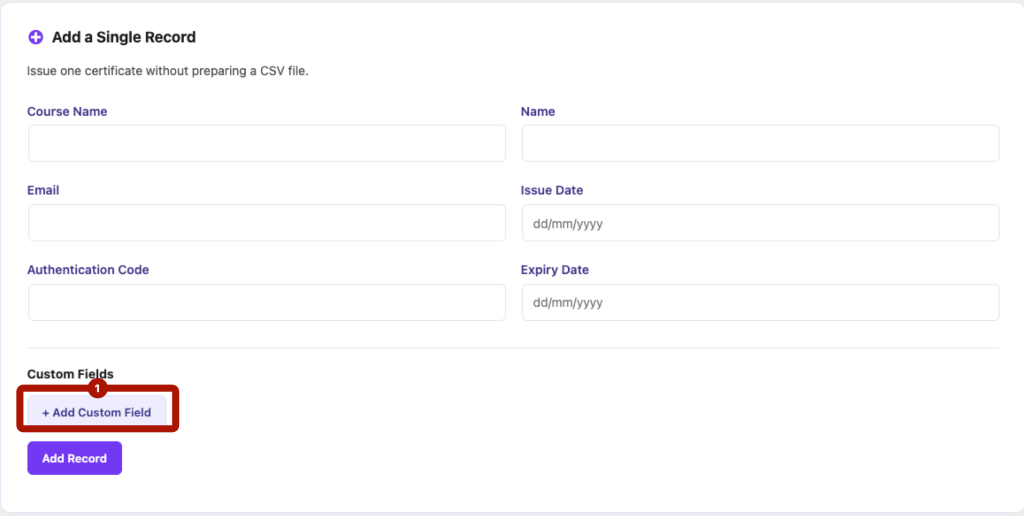
Add the required details. To add additional information, click the “Add Custom Field” button.
Step 3: Add Custom Fields
After clicking “Add Custom Field,” you can enter any additional details specific to your document type. In the custom fields area, enter a label (e.g. “Grade”) and a value (e.g. “Distinction”). Choose whether the field is shown publicly.
Click the “Add” button to add this custom field.
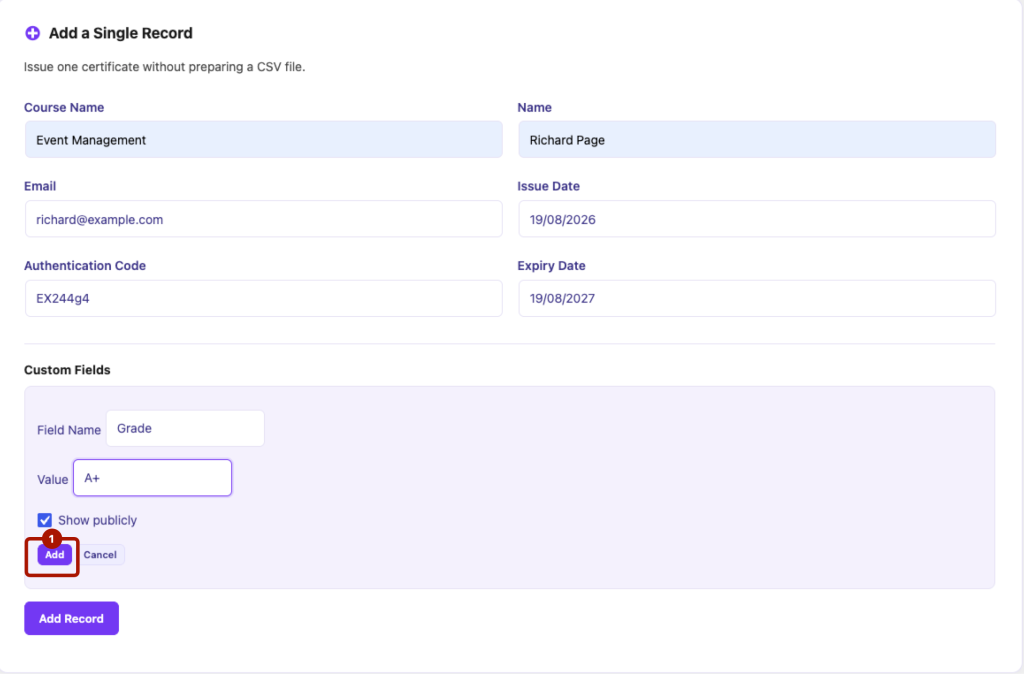
To add more fields, click “Add Custom Field” button and then enter information similarly.
Once all information is added, click “Add Record” to save the entry.
Adding custom fields in bulk via CSV #
Any extra column in your CSV (beyond the core and recognised Pro columns) is imported as a custom field automatically. So a column headed Grade creates a “Grade” field on every record in the file. This is the fastest way to add the same field across a whole cohort.
Examples of custom fields
- Grade, GPA or score
- Roll number or student ID
- CPD points or credit hours
- Awarding body or accreditation reference
- Instructor or assessor name
Custom fields are label/value pairs, so you can name them anything that suits your certificates.
Step 1: Locate the CSV Upload Section
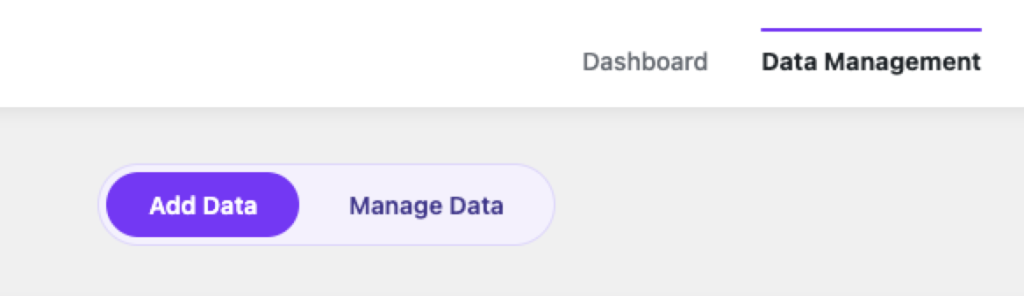
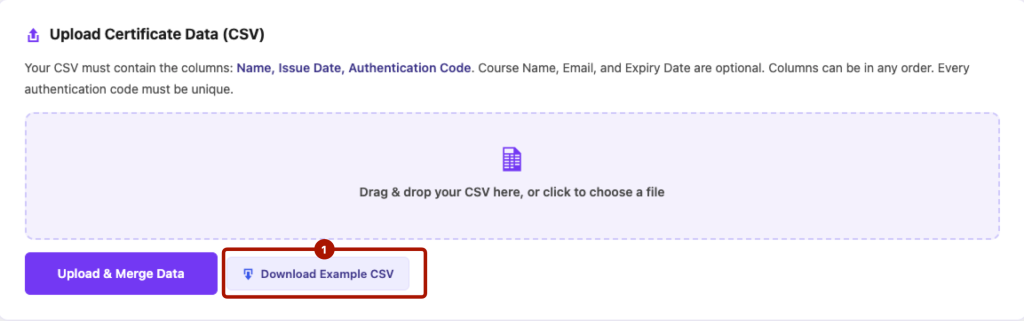
First go to Management > Add Data tab. Here, you will find a section named “Upload Certificate Data (CSV)“. From there, click the “Download Example CSV” button to download the sample CSV file.
Step 2: Prepare Your CSV File
Open the downloaded example CSV file. This file contains two sample rows with placeholder data to demonstrate the required format.
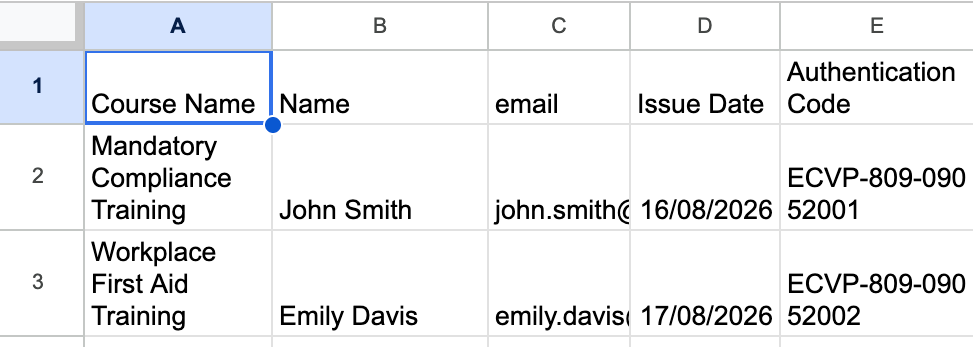
Remove the sample data and replace it with your own certificate information.
To add custom fields, enter your custom field names starting from the F column header onward. Then, add the corresponding values for each record under those columns.
For example, you can add custom fields such as:
- Expiry Date
- Grade
- Duration
- CPD Points
Once you have entered all required information, save the CSV file.

Step 3: Upload the CSV File
Return to the Upload Certificate Data (CSV) section in the plugin.
- Click “Click to choose a file” and select your prepared CSV file.
- Click the “Upload & Merge Data” button to import the records.
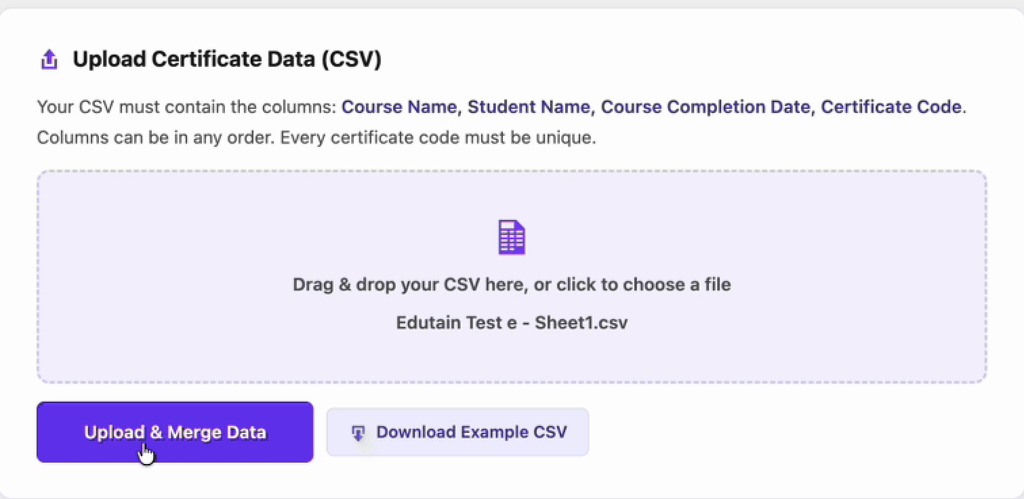
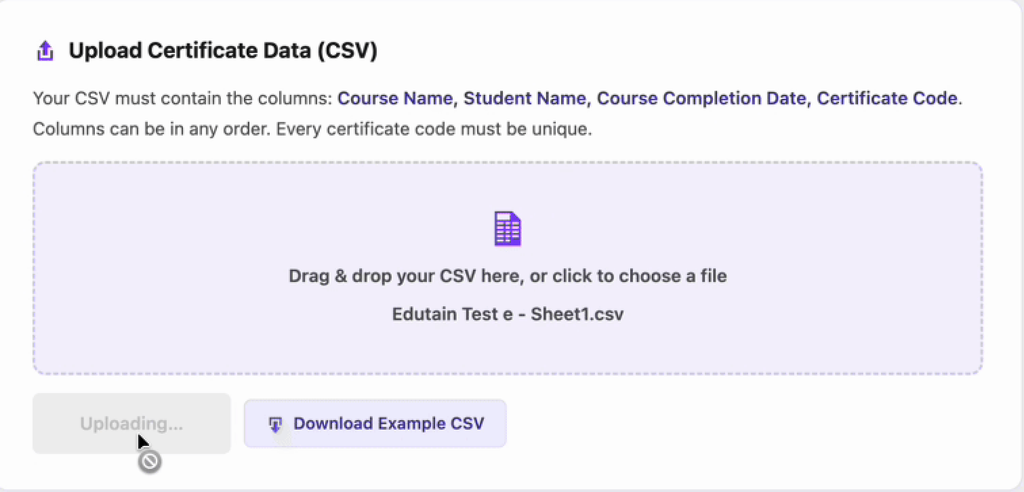
The upload process will begin, and your bulk certificate records, including custom fields, will be added successfully.
You can now verify the uploaded records from your verification page.


