
Make every certificate you issue instantly verifiable.
Upload a CSV, share one link, and let learners and employers confirm a certificate is real in seconds. No LMS. No monthly fees. Your data never leaves your site.
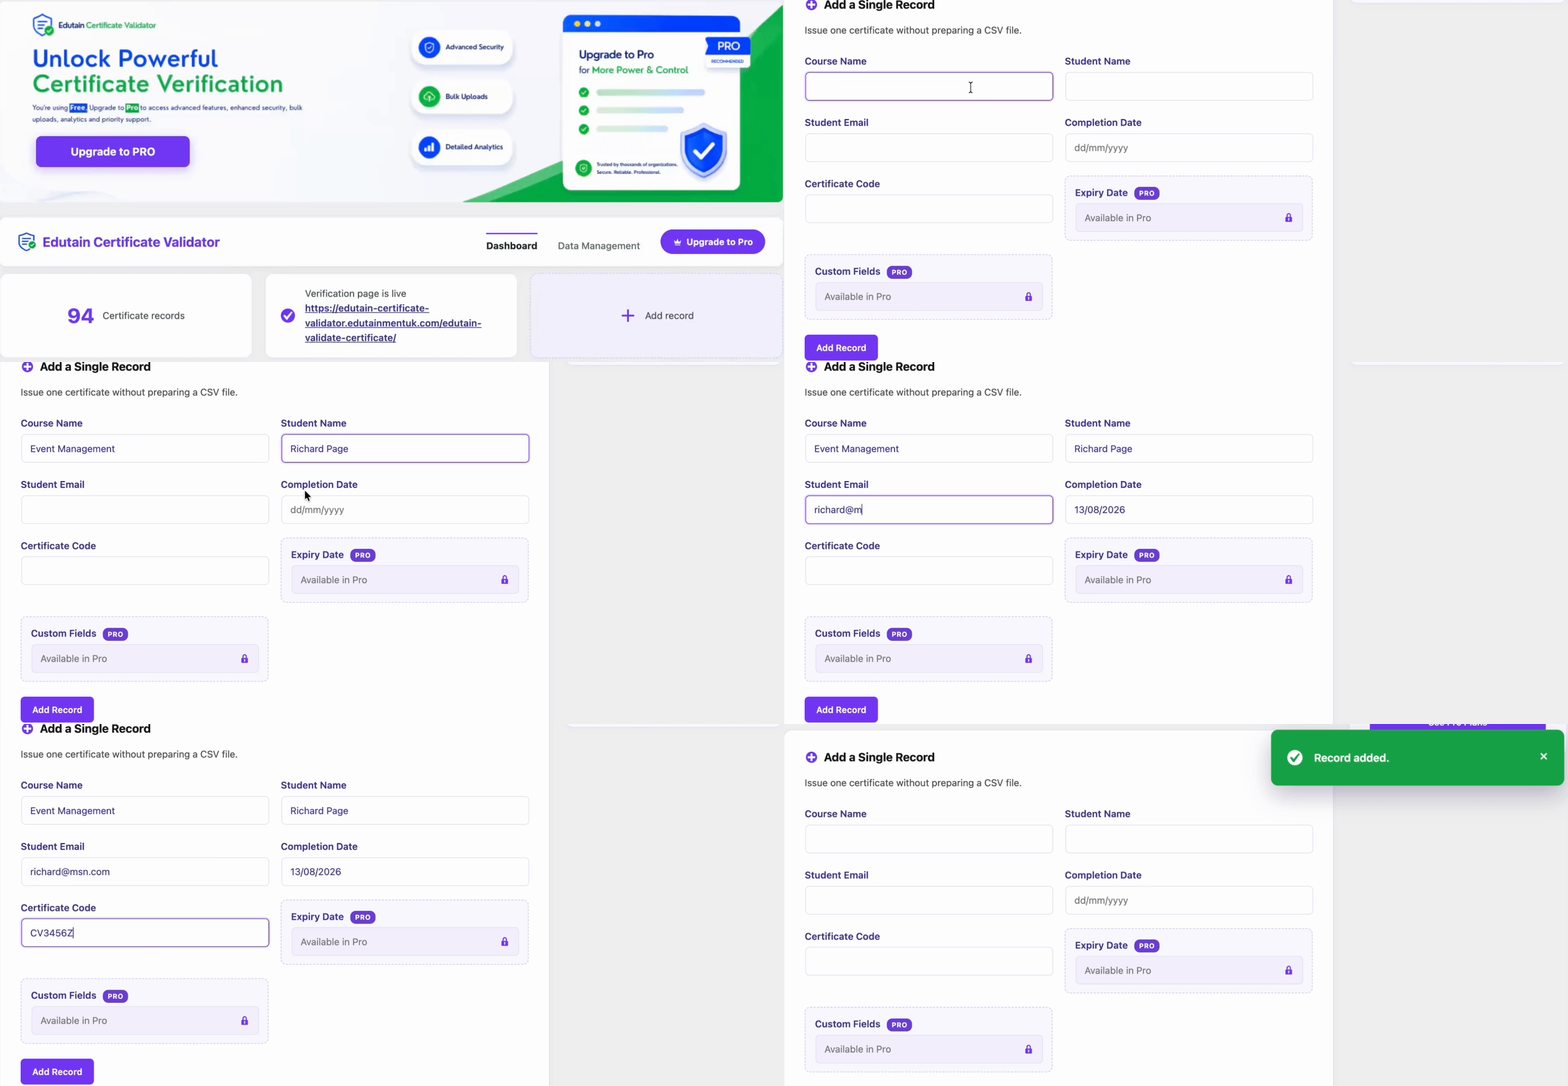
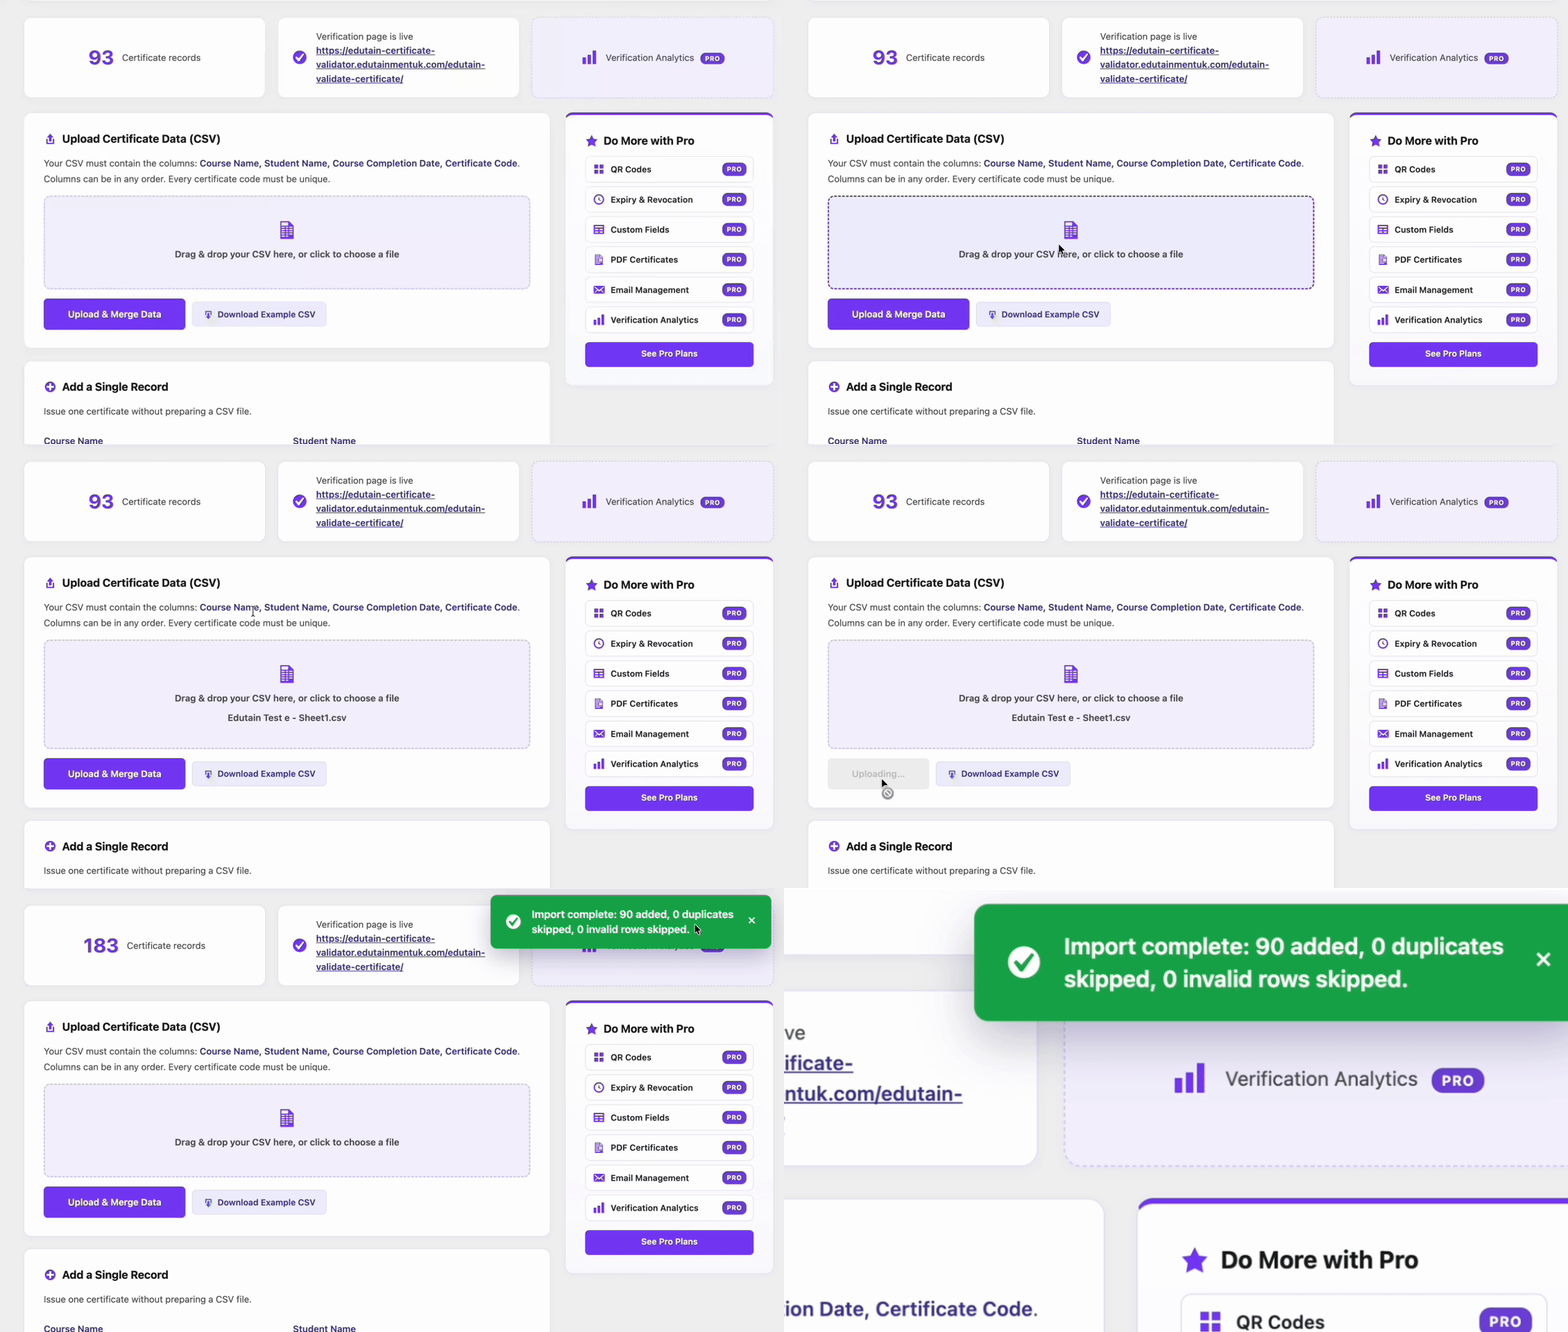
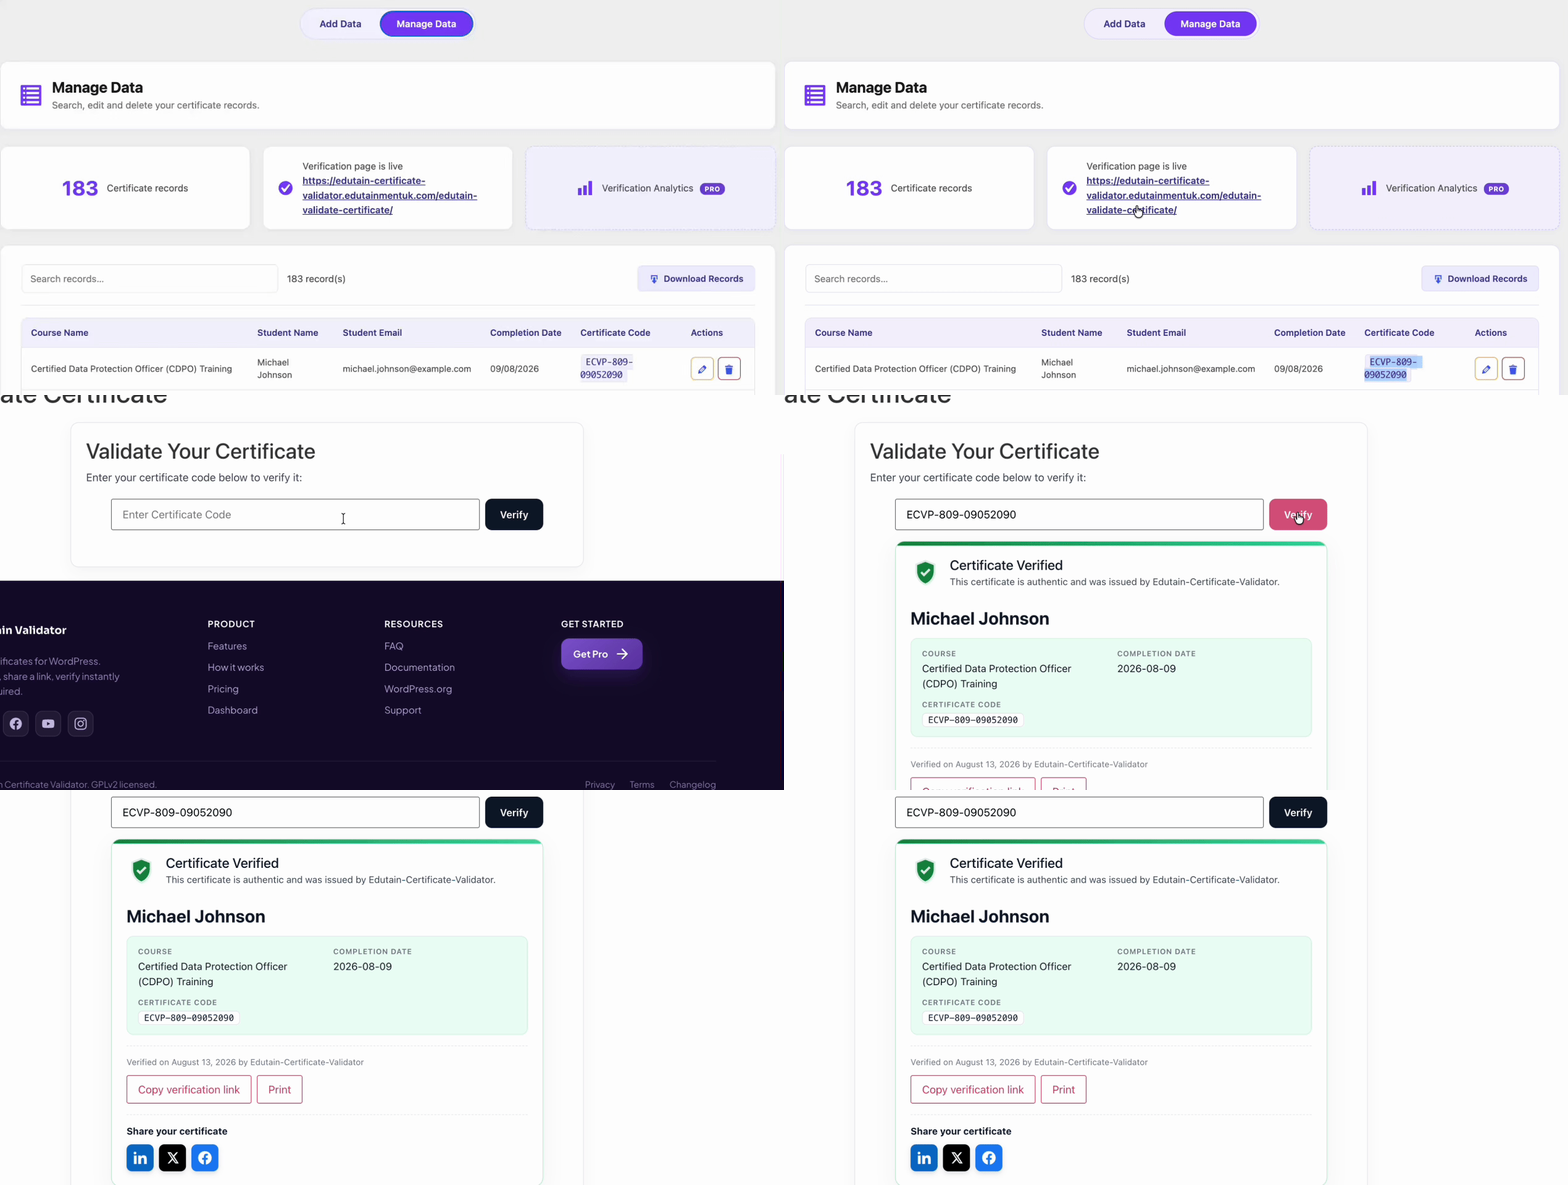
An admin experience your team will actually enjoy.
Clean, fast, and familiar — it lives right inside WordPress where you already work.
When certificates expire, your validator should know.
Pro turns the free validator into a full issuance-and-verification suite — built for First Aid, food hygiene and any training that has to be renewed.
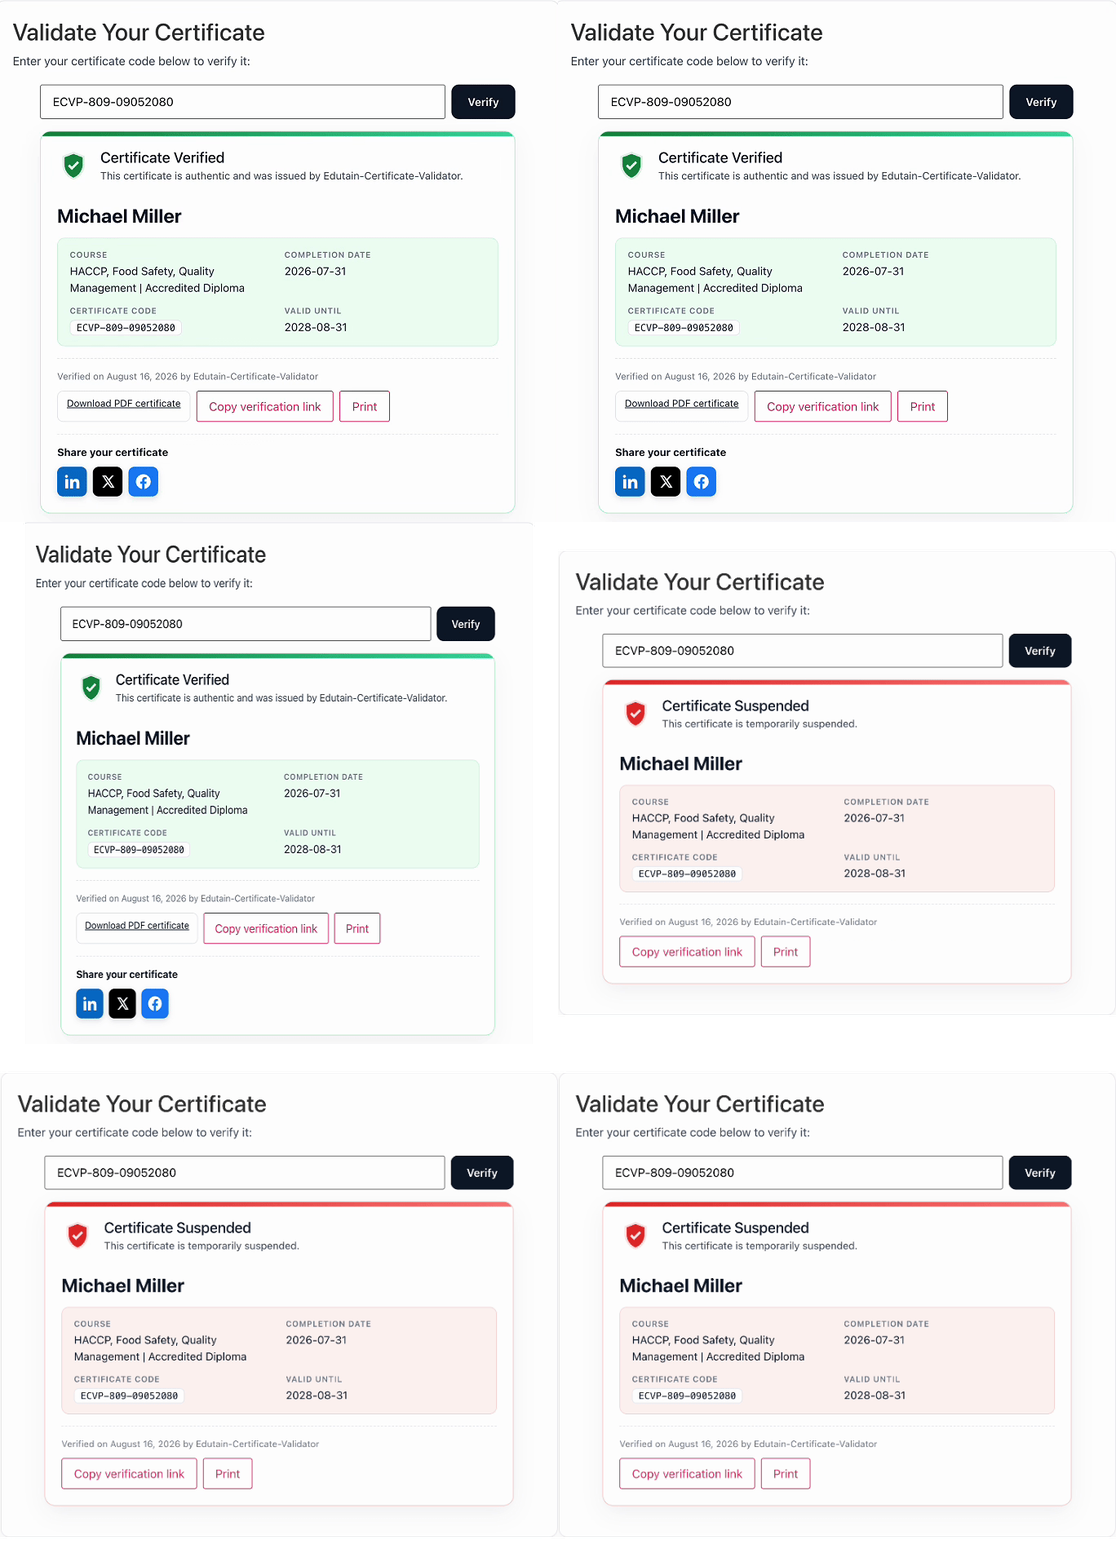
Expiry & revocation, automatically.
Add an expiry date and the verification card updates itself — showing Valid, Expired or Revoked against today's date. Suspend a certificate the moment it's withdrawn. Essential evidence for compliance and audits.
QR codes
Generate a scannable QR for every certificate that opens its verification page with the result already confirmed. Print in bulk.
Branded PDF certificates
Produce polished PDFs from your data with your logo, colours and signature. Learners download straight from the verification page.
Custom fields
Add unlimited extra columns — grade, tutor, CPD hours, credential ID — and choose which are shown publicly and which stay private.
Certificate Emails
Send certificate emails one at a time or in bulk whenever you're ready — each using the learner's own email address and a fully customizable template you control.
Verification analytics
See when and how often each certificate is verified, with a full audit log — perfect evidence for compliance and disputes.
Expiry & revocation
Time-limited training handled automatically. Certificates flip to Expired or Revoked on the card without you lifting a finger.